Give'r Guide:
How To Wax Your Gloves
Check out the video below and follow our step-by-step guide to give your gloves or mittens the care they deserve. With a bit of wax and some good ol’ elbow grease, you'll have a pair ready to face the elements time and time again.

Step-By-Step Guide
Use this 6-step process to wax or rewax your Give'r gloves or mittens.
Step 1:
Grab Your Wax
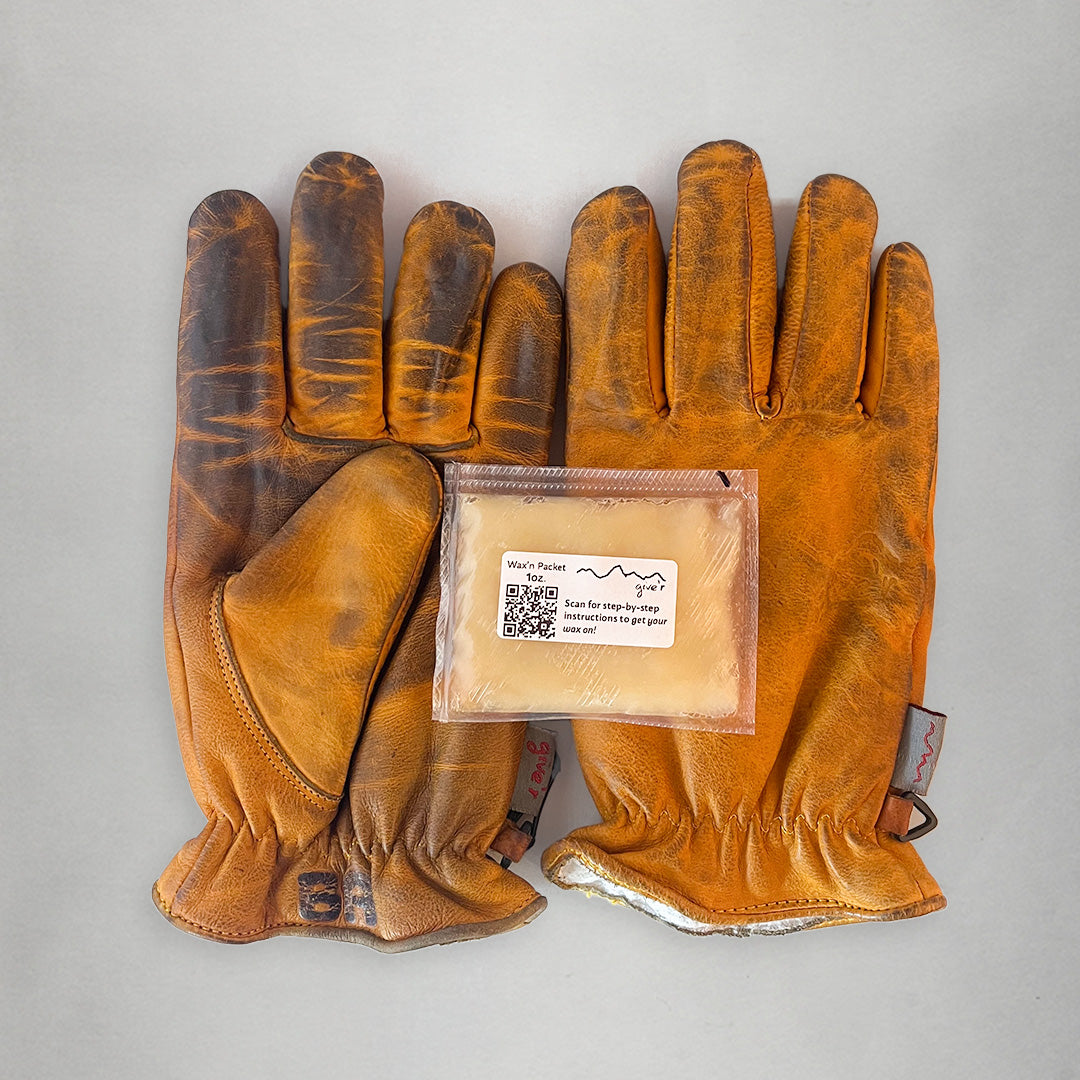
Grab a Wax'n Packet to keep your gloves in fine, frontier-ready condition.
Wax'n Packets are meant to be applied at room temperature. If your wax is cold or rigid, place the packet in a cup of hot water for a few minutes. Wax at the right temperature has the consistency of icing on birthday cake.
*Take heed, waxing unwaxed gloves for the first time will slightly darken the color of the leather.

Step 2:
Heat Your Gloves
Heat your gloves in your oven to prep the leather for waxing. To get started:
- Set your oven to "BAKE" and preheat to 180°F - 190°F. Since all ovens are not created equal, we recommend starting at lower temperatures.
- Place your gloves on the middle rack in an "A-Frame" position with plastic clips and metal D-rings facing up.
- Set your timer for 4 minutes.
*Avoid placing your gloves directly above or below any heating elements. Ensure at least 3 inches between gloves and any heating elements.

Step 3:
Apply The Wax
After 4 minutes, remove your gloves from the oven. While still warm, put your gloves on, and squeeze out half of the packet onto the palm of one glove.
Rub your hands together to coat the entirety of both gloves with wax including between the fingers, on the cuff, and anywhere there is leather.
In small increments, squeeze additional wax from the packet to cover all surface area of both gloves.
*Only wax the external leather surface. Do not wax the inside of your glove.

Step 4:
Remove Excess
Once all leather surfaces have been coated evenly with wax, some areas may have excess build up.
Use a clean rag or paper towel to remove any excess wax from between fingers, along seams, along wrist clip areas, or anywhere else you see wax in excess.

Step 5:
Seal The Wax
To fully cure and bond the wax to the leather, place your newly-waxed gloves back in the oven using the same "A-Frame" technique from Step 2.
After another 4 minutes, remove your gloves from the oven. Again, put them on and generously rub your gloves together to even out the wax.
If any areas were missed, apply small amounts of additional wax and work hands together to evenly distribute. Place gloves back in the oven for another 3-4 minutes. You can repeat Steps 3-5 until you are satisfied with wax coverage of both gloves.

Step 6:
Let 'Em Cool
After your final bake, set gloves aside on a baking sheet, towel, or shelf in a well ventilated area allowing them to cool to room temperature, about 5-10 minutes.
Once at room temperature, your Give'r gloves are ready to give'r their all!
If you have any questions about the waxing process, give us a holler at sales@give-r.com.
FAQs
How often should I wax my gloves?
Waxing your gloves every 6-12 months is generally recommended, but this can vary based on usage and environmental conditions. If you notice the leather looking dry or feeling stiff, it’s a good sign that it’s time for another application.
Can I use any type of wax on my gloves?
It’s best to use a non-silicone based wax or conditioner specifically formulated for leather. Avoid using products like shoe polish or household waxes, as they might not provide the necessary care and could damage the leather.
How should I store my gloves after waxing?
After waxing, store your gloves in a well ventilated place away from direct sunlight. Avoid folding or crumpling your pair to maintain their shape.
