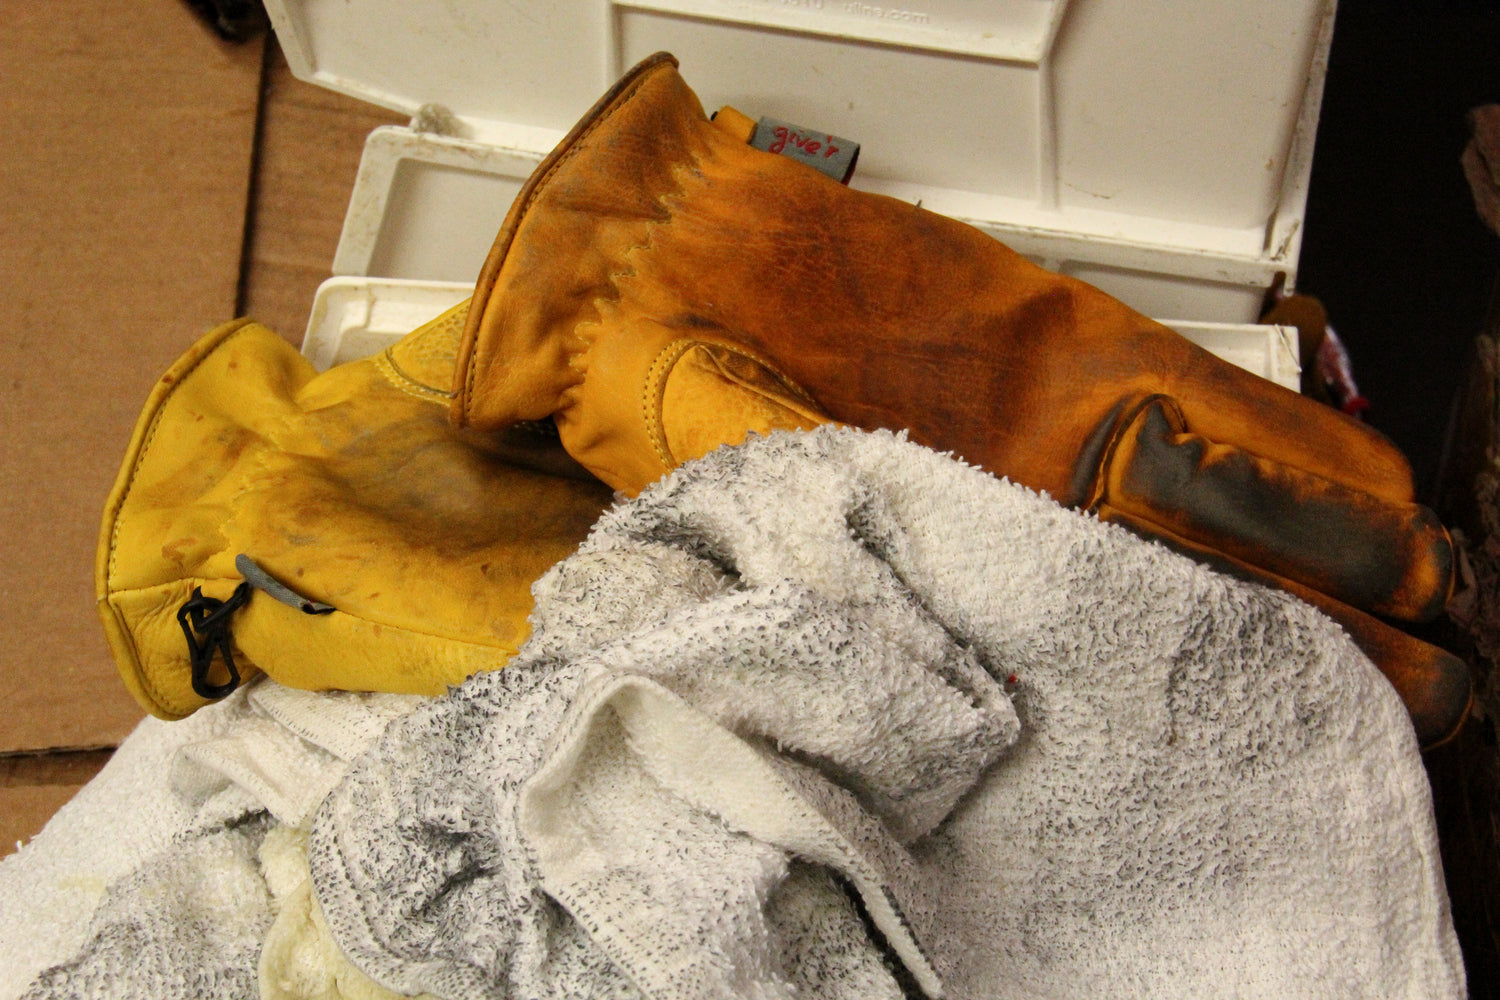
So, you’ve finally wrangled yourself a pair skillfully crafted, built-to-last gloves (or mittens) by Give’r!
What's next?
Like every good investment, our gloves and mittens need occasional T.L.C. to stay looking and performing at their best. You never know when you're going to have to wrestle with a bear or scale a giant tree (to escape said bear).
But don’t worry; we’ve rounded up all the know-how you need right here. With these tips and tricks, you'll be ready to get out there and give'r all you've got.
SIZING, FIT, AND BREAK-IN
-

Day one
When you first slip on your gloves, they ought to feel snug and form fitting. Think: Cinderella's glass slippers (Fairy Godmother sold separately).
-

Miles Logged
After a few days of work, the insulation will begin to “pack-out,” filling out the leather shell and easing up those tight spots.
- Heads Up! The leather will be stiff out of the gate, but as you put 'em through the paces, they'll have increased dexterity and warmth as the leather forms to your hand.
-

Stories to tell
With steady use, they'll be fitting like a custom-made pair in no time - molding to your hands for a feel that not only fits like a glove, but fits like your glove.
Whether you wear ‘em in the old-fashioned way or use the Oven Method, the break-in process will bring you functionality, comfort, and dexterity like no other pair of gloves you’ve ever worn.
Our gloves won't just fit like a glove, they'll fit like YOUR glove.
“I have bought more pairs than I can count, I have some personally and have given a number as gifts.
The quality is excellent, I love getting them personalized and you can’t beat the basically custom fit once you’ve broken them in! Can’t recommend enough!”
Sydney T. on Lightweight Give'r Gloves
THE OVEN METHOD
A simple way to expedite the break-in process.
Don’t want to wait for your gloves to break-in through use? We’ve got you covered.
The fastest way to get out there and give’r with gloves that fit just right is through the Oven Method. Check out the video below to give our tried-and-true Oven Method a go.
Oven Method Instructions:
Step 1: Preheat
Set your oven to 200 degrees Fahrenheit.
Step 2: Bake
Once heated, pop your gloves or mittens in the oven placing them in an “A-Frame” with the steel D-rings / glove clips pointing up so they do not burn. If you have wrist leashes, be sure to remove them first!
Step 3: Wait
Set a timer for 4 minutes.
Step 4: Wear
When the timer is up, take out your gloves and immediately put them on while they are still warm.
Step 5: Grab
Grab a broom and sweep the deck, hold on to some ski poles and practice your mid-slope photo pose, or simply squeeze your hand in and out of a fist like you’re working a stress ball. These grabbing actions help create memory in the leather while packing out the insulation to form the gloves to your hands quicker. And don’t forget to work that thumb, mitten bakers!
After you have worked your 4-Season Gloves or Frontier Mitten, firmly grab the tips of your fingers before removing your hand to keep the liner in place. As the gloves break in, the liner and insulation will pack out making it easier to remove your hands without worry.
Step 6: Stoke
Get stoked on a pair that not only fits like a glove but fits like YOUR glove!
Note! You can repeat this process a couple times or again before your next big adventure, but be sure to let you gloves completely cool before putting them back in the oven.
UPKEEP
Give’r gear is built tough to handle whatever you throw at it, whether you're a sailor, a rancher, a grill master, an ice climber, a powder-hound, or an everyday dreamer.
As you put your gloves to the test, they'll start to build their own patina. And if you ever feel they need a cleaning or waxing to keep ‘em in top shape, here's some quick tips.

DO NOT:
- Flip the gloves inside out! Trust us, it's not easy to flip 'em back.
DO:
- Use a damp cloth to wipe down the outside of your gloves.
- If cleaning the inside, be sure to allow for air to flow in and out of the glove.
- To dry your gloves, use a coat hanger to open the gloves and hang them to dry. Or place your gloves on their side in front of a fan or heater and choose one of the following methods:
- Use a paper towel tube inside of the cuff to ensure air flow.
- Place on a boot dryer with a gap for airflow in and out of the cuff.
“They break in easy and quickly. The fit is great. Overall, the best leather gloves I have found. Very durable. Wife says I own too many pairs. Have been great gifts to family members.”
Chris P. on Classic Give'r Gloves
WAXING
You can wax or re-wax any Give'r glove or mitten with our Wax'n Packets to preserve and extend the lifespan of the leather.
For a full step-by-step guide on waxing or rewaxing your gloves, visit Your Guide To: Wax Your Give'r Gloves.
“These gloves are an absolute game-changer. They are incredibly comfortable and exceptionally warm, making them the best gloves I’ve ever owned.
The craftsmanship and design are evident in every stitch, and they truly live up to their promise of four-season usability.”
Rolando I. on 4-Season Give'r Gloves
For additional information or tips and tricks, visit the product page for your glove, review our FAQs page in the Give'r Help Center, or give us a holler at sales@give-r.com.


